
Creation of websites can seem impossible if you have no idea. Would you believe if say, You will be able to create your own website in WordPress either for your Hotel, Delivery Service, School, Rental Services, NGO, SuperMarket, Travel Agency, Tourism, Magazine, Personal Blogging etc. In short, the impossible of creating a website for yourself will become possible after reading this article. Please note: Every point in this article is very important, Do well not to skip any.
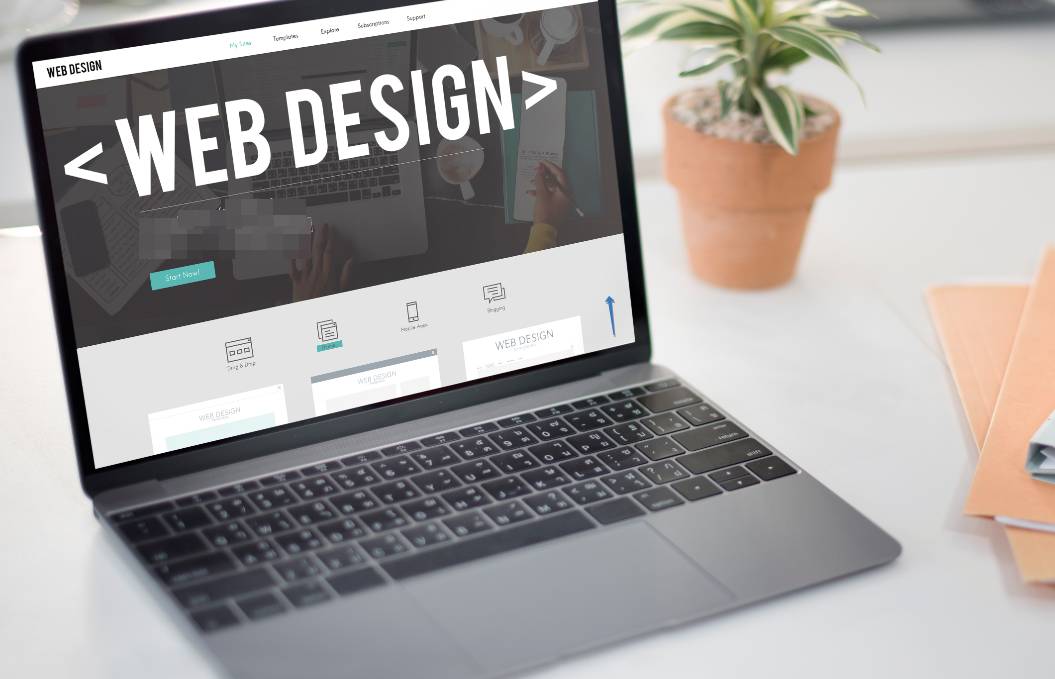
What is a website?
First, let me give you some vital education. The website of your favorite business or blog which you often visit was made or built on a certain foundation and out of certain materials. Think of it as the cars you see around. There are a number of brands producing cars out there with each brand having its uniqueness.
In the arena of website development, there are predefined platforms used for building simple and complex websites from start to finish by developers. Eg; WordPress, Laravel, BlogSpot, Wix, Ghost etc. with the common one among them being WordPress. These platforms are very necessary for developing websites because it allows for the front end development of the website which becomes visible to users or visitors who come to the website, And there is the backend part which is only accessible to the website owners normally known as the admin. Let me give you further explanation to the front and backend of any website.
Front End
Whenever you visit any website, Whatever information you see on the website is known as the front end data which is intended to be shown to you by the website owner or the admin.
Back End
Like any institution, it is only proper to have a regulator where whatever that goes on in the website can be regulated. Back End of websites are purposely to give Admins or website owners some authority to allow or disallow data on the website. This is a common accepted and safest practice on most website platforms including WordPress Websites.
Know more about WordPress, The Advantages and Disadvantages
WordPress is a platform for building websites and bringing them to live. The now popular platform which powers about 15% percent of the worlds’ total websites was released in the year 2003. It has been accepted by many developers and website owners because of its simple nature and also the safest environment it provides.
Advantages of WordPress
To me, there are a lot more advantages that can be gained from WordPress than the disadvantages. Below are some advantages of WordPress.
- Free to use
- No coding knowledge required
- Very secured
- Large user community hence it’s easy to find solutions to any future problems.
Disadvantages of WordPress
I think there is only a little disadvantage you can find in WordPress. WordPress themes are predefined by its developers hence not often that you can find the desired style or layout for your website.
How to Build or Develop a Website in WordPress
Now, let’s begin with the main reason why we are here. And by the time we are done you will be well versed with how to build your own website for whatever project. Which of course eventually can turn you into a web developer. Below are important first things you will need to begin with setting up your website.
Domain
So, think of a domain as the name of a School “ Besta International School”. The name of the School is what people will use to identify the school, either for directions, certificates, competitions etc. Using the same scenario, every website needs a name which is termed as domain to make it easy for your targeted audience for your website to memorize your website name and find your website anytime they need your services.
A WordPress Theme
WordPress themes are predefined layouts with demos which allows for several customizations during website developments to best fit the admins’ desires style.
Even though there are free WordPress themes, the best ones to go for are premium ones which sometimes provide you with special features and unlimited updates.
Hosting
When building a school you will need a piece of land or even bigger land right depending on the size of school you intend to run. Hosting plans for websites vary to best suit the performance of the website and also of course the budget of the website’s owner is very important. There are best hosting companies like Namecheap, Inmotionhosting, Interserver, Godaddy, Hostgator, Bluehost, HostPapa etc. that provide powerful, secured and affordable hosting plans which are able to power any type of website. There are several hosting plans you will likely see on websites of hosting companies. Below are some of the common hosting plans and on this site, you can find the top web hosting providers.
Shared Hosting
This hosting plan is cheaper than VPS and Dedicated hosting. The name tells it all, A whole server is shared for multiple websites owners by giving each one a Cpanel. All of the websites in a shared hosting of a particular server will have a single server IP. Even though the advantage here is the cheaper cost you pay for a shared hosting, websites hosted on these types of servers cannot handle high volumes of traffic or visitors per month. They are also slower since many websites are hosted on a single server which is shared.
Recommendations: If the aim of your website is to handle a traffic of about 1 to 100,000 visitors each month, then a good shared hosting can be great for you. If you are a beginner, then shared hosting is the best for you because it comes with all the necessary tools like Cpanel, WordPress etc. which you will be needing to allow you start building your website.
VPS Hosting
VPS hosting which is a Short form or abbreviation for Virtual Private Service. This hosting plan is a combined concept of shared and dedicated hosting. In VPS hosting, you have more control over your server than in shared hosting where you are able to reboot your server separately, Your hosting has its own operating system and more.
Recommendations: If you are looking to have more control of your hosting and also serve from 100,000 to 500,000 visitors monthly then VPS hosting is an ideal. It’s refreshing to also note that some hosting companies provide unlimited visitors or traffic resources for VPS plans.
Dedicated Hosting
Dedicated hosting is the big deal here. It’s expensive and has a lot of resources like huge storage size, RAM, Monthly Traffic, Security and other goodies allocated to it. Subscribing for a dedicated server means you are hiring a whole computer to host only your website without it being shared with other websites.
Further explaining hosting; Whenever you purchase a hosting plan from any of these hosting companies or from you favorite hosting company, a package which contains disk size, RAM, Maximum traffic you can receive on your website per month and other features.
What to do when purchasing a hosting for a WordPress website development
If you are a beginner without any coding knowledge, the best hosting plan is the Shared Hosting which comes with Cpanel when you purchase it. Whatever hosting company you decide to work with, First purchase your domain name from them and secondly, navigate to their shared hosting plans and purchase the best shared hosting you find suitable to your budget. Using namecheap as an example, register an account and purchase their shared hosting which you find best for you.
How to find Cpanel on Namecheap
After you have purchased your shared hosting plan on Namecheap, login and navigate to the Hosting tab shown in the images below. By doing that, it will display your hosting plan you have purchased and just beside it, you will see “ GO TO CPANEL”. Click on that to go to Cpanel since that is where our WordPress website development will begin.

Universal way of finding Cpanel for all hostings
There is a Universal and easier way of accessing the Cpanel of any website no matter the hosting company you are signed up to. Type in the address bar of your preferred web browser the name of your domain / cpanel. Find an example of this in the bracket: (domain.com/cpanel) this will lead you to the Cpanel login page.

How to find username and password of your Cpanel
The moment you purchase a shared hosting, a Cpanel username and password is sent to your email address so be sure to look for it there. Use these credentials to login to your Cpanel. You can later change the password in your Cpanel. Below is how the interface of Cpanel looks like.
How to Install WordPress from your Cpanel
To begin developing your website in WordPress, You first need to install wordpress on your shared hosting. This is why we need Cpanel to install WordPress. On the Cpanel dashboard you will find a WordPress button which will enable you to do the installation, just click on that.


Next step is to set up credentials for your WordPress admin. Click on the install button and shown in the above image and begin to fill in the form that is provided.
Below are answers or data you will need to fill in the gaps that are on the WordPress installation page.
Software Setup
- Choose Protocol : Always choose Https://
- Choose Domain: Select your website or domain name – Example ( Scopenew.com )
- In Directory: Leave is bank don’t write anything here
- WordPress Version: Always choose the highest number
Site Settings
- Site name : Enter the name of your website – Example : ScopeNew
- Site Description : Write something about your website and try to keep it short – Example : Latest news, business, technology, health and more
- Enable Multisite (WPMU) : Leave it blank, Don’t select it
- Disable WordPress Cron : Leave it black, Don’t select it
Admin Account
- Admin Username: Enter username for your admin account. – Example : Lucy2
- Admin Password: Enter a password for your admin account. Try to make it strong by combining both alphabets, numbers and characters. – Example : New@Year=2022
- Admin Email: If you have already set an email for your domain, enter it here. – Example: support@45.32.128.57 or Lucy@45.32.128.57. What this means is that, you choose any name or title you prefer and append it to your website name or domain name. If you have not set that, you can still enter your preferred admin email and set it up later in your Cpanel.
Choose Language
- Select Language: select the language you prefer.
Select Plugin(s)
- Limit Login Attempts (Loginizer) : Select it.
- Classic Editor: You can leave this blank
- W3 Total Cache : Select it.
- WP Super Cache: Leave it blank
Now scroll down to the bottom of the page and you will find “Email installation details to :” at this stage enter your valid email address from either Gmail, Yahoo, Yandex or any other email service you are present on. WordPress will email your installation details to you after clicking on Install.
Initiate the installation process

At the bottom of the same page you will find “Install button, Click on that to begin installing WordPress on your hosting. Once the installation is done, a successful message will display on your browser telling you that WordPress has been successfully installed.
Conclusion
From the start to finish, things might seem complicated if you are a beginner. But practice makes people perfect. Don’t be in haste, read this article severally to make sure you understand everything clearly before you begin building or developing your Professional WordPress website for your business or personal blog.