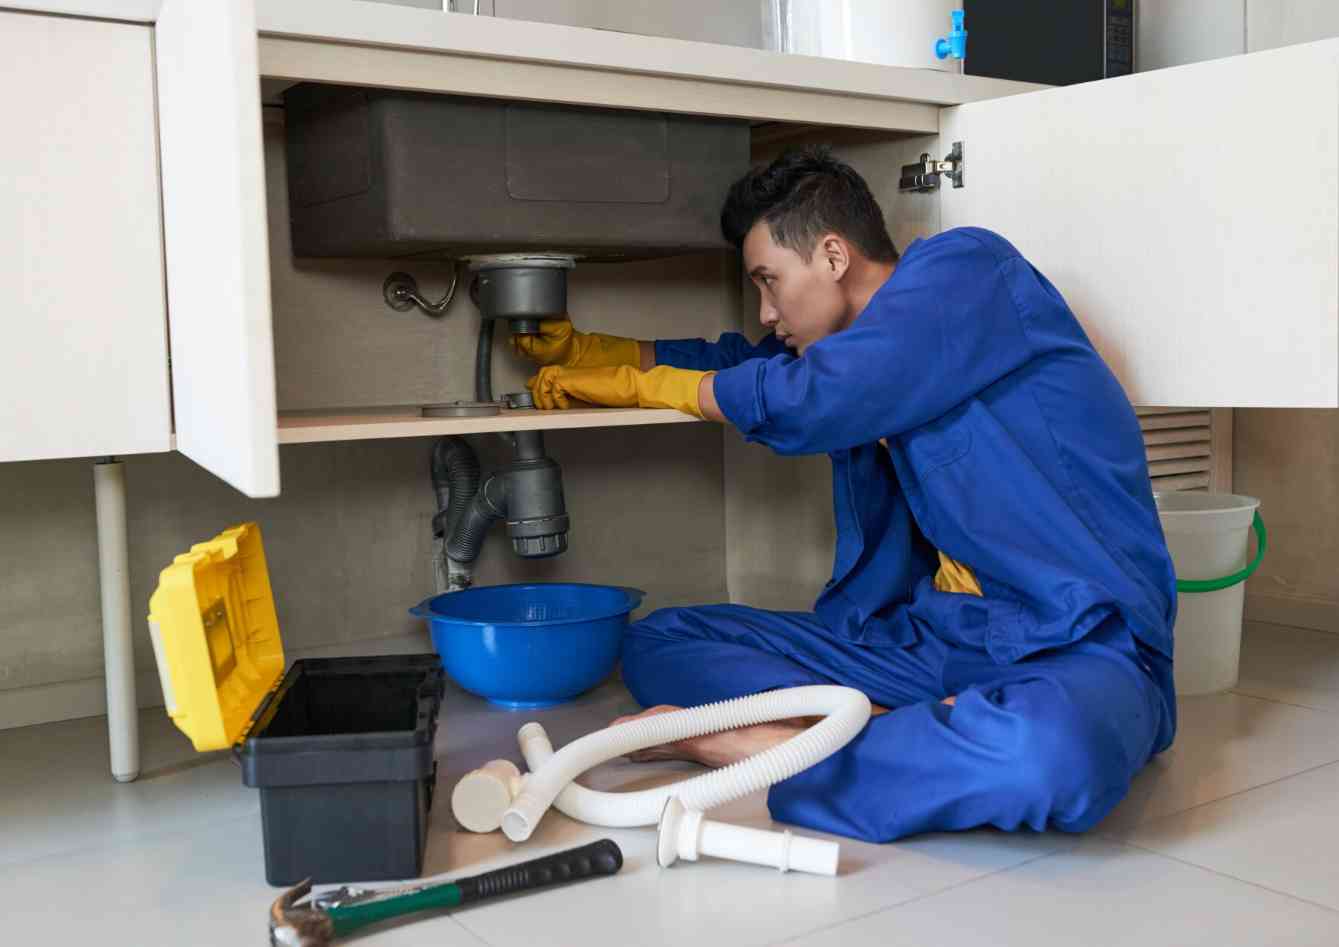
It starts with a small drip you notice under the sink. Next thing you know, there’s a steady stream flooding your cabinets. Few household issues are as disruptive as a leaking pipe. As per experts like The Relining Company Australia, Left unresolved, leaking can cause water damage, mold growth and costly repairs. Here’s an ultimate guide to leaking pipe repair in your home.
Detect Leak Locations
The first step is identifying all locations where water is escaping pipes. Traces to look for:
Visible drips or moisture under sinks, near water heaters and along the ceiling
Loose tiles, warped wood or damp spots signaling unseen leaks
Unexplained spikes in water bills indicating major hidden leaks
Walk through your entire home, inside and out, at least annually looking for signs of water. Catching leaks quickly is key to limiting damage.
Determine Leak Causes
Once you’ve spotted leak locations, diagnose why they’re occurring. Common reasons include:
- Cracked, corroded or broken pipes allowing water to seep
- Loose joints that need resealing with pipe thread sealant
- Frozen pipes that burst in frigid weather
- Too much water pressure straining old pipes
- Shifting foundations putting stress on plumbing
- Tree roots infiltrating and splitting pipe walls
Understanding the leak cause will inform the right repairs. A plumber can help investigate if you’re unsure.
Shut Off Water Supply
Before any leak repairs, shut off the main water valve for the house. This is normally near the water meter. Shutting water off prevents leaks from worsening and new ones from starting mid-repair.
Also turn off valves for specific problem fixtures. Shut-off valves are located under sinks and behind toilets. Turn them clockwise to stop flow. Prevent more water damage until pipes are fixed.
Make Temporary Repairs
With all water turned off, implement temporary fixes to stabilize leaks until permanent solutions can be made:
- Place a bucket under dripping pipes to catch water. Empty it regularly so it doesn’t overflow.
- Put absorbent pads or towels around damp areas to contain moisture spread.
- Use duct tape to seal cracks or wrap leaking pipe connections.
- For burst pipes, wrap the hole tightly with waterproof tape.
Temporary measures minimize additional flooding until pipes can be replaced or sealed completely.
Replace Broken Pipes
For rusted, cracked or burst pipes, replacement is the surefire fix. Copper and PEX pipes are relatively easy for DIYers to swap. Consider hiring a plumber for behind-wall piping. Replacements should match your existing pipe sizing and types.
Seal Leaky Joints
Leaks often stem from loose joints. Tighten the fittings with an adjustable wrench. Apply fresh plumber’s tape and pipe joint compound to reseal connections. Leak-proof epoxies are available for extreme cases. Proper sealants stop drips.
Upgrade Old Pipes
If pipes are outdated or deteriorating from age, replace them with modern pipes. CPVC and PEX tubing are affordable, flexible and corrosion-resistant. Upgrading old pipes prevents future bursting or leaking as they weaken further.
Insulate Pipes
In chilly areas, insulating water pipes helps prevent freezing and bursts. Use pre-slit foam tubes that wrap around pipes. Insulation is easy to install and pays for itself by avoiding leaks.
Conclusion
Regularly inspect your plumbing and fix minor drips immediately to avoid major leaking disasters. Following this leak response plan will keep your water pipes in shape for years to come.


GIPHY App Key not set. Please check settings